Go to Winery & Distillery section
BREWERIES
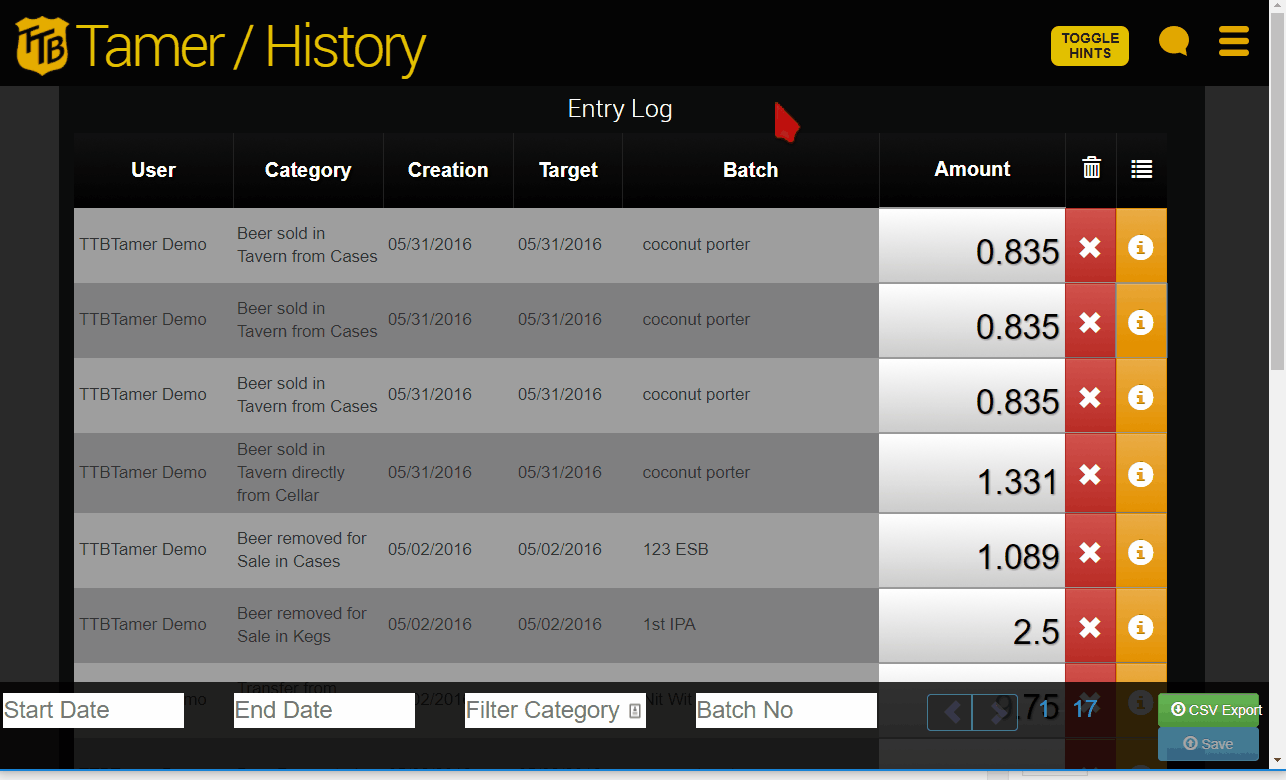
The Entry Log page shows you all of the previous entries that have been saved to your brewery. If you have a multiple user account, you will be able to see which user made each entry.
A video overview of the Entry Log can be found HERE.
Entry Log
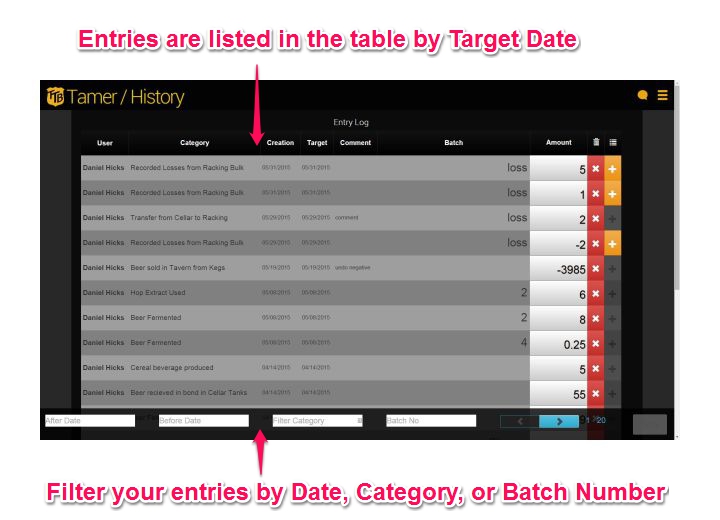
The Entry Log lists all of your brewery’s activity entries, first, by the Created date and time, and second, by the Target Date.
If available for the entry, click on the orange icon to the right of the red delete for more information about a specific entry such as the Category that was updated, its Explanation (if any), and the Amount that was entered.
Created Date vs. Targeted Date
When you make entries on the Make Entries page, you have the opportunity to make entries that take effect in the past using the date picker. Because of this possibility, there are two dates associated with every entry: the Created Date and a Targeted Date.
The Created Date is the date that you accessed the software and made the entry. This date is used for record keeping but does not affect which reporting period the entry is applied.
The Targeted Date is the date that was chosen using the date picker. The targeted date is the date that the activity took place in the brewery, and this date will be used to determine which reporting period the data will be applied.
In most cases (and if you’re using the software as we recommend) the Created Date and the Targeted Date will be the same, because you’re entering you updates on the same day your processes occur.
History Filter
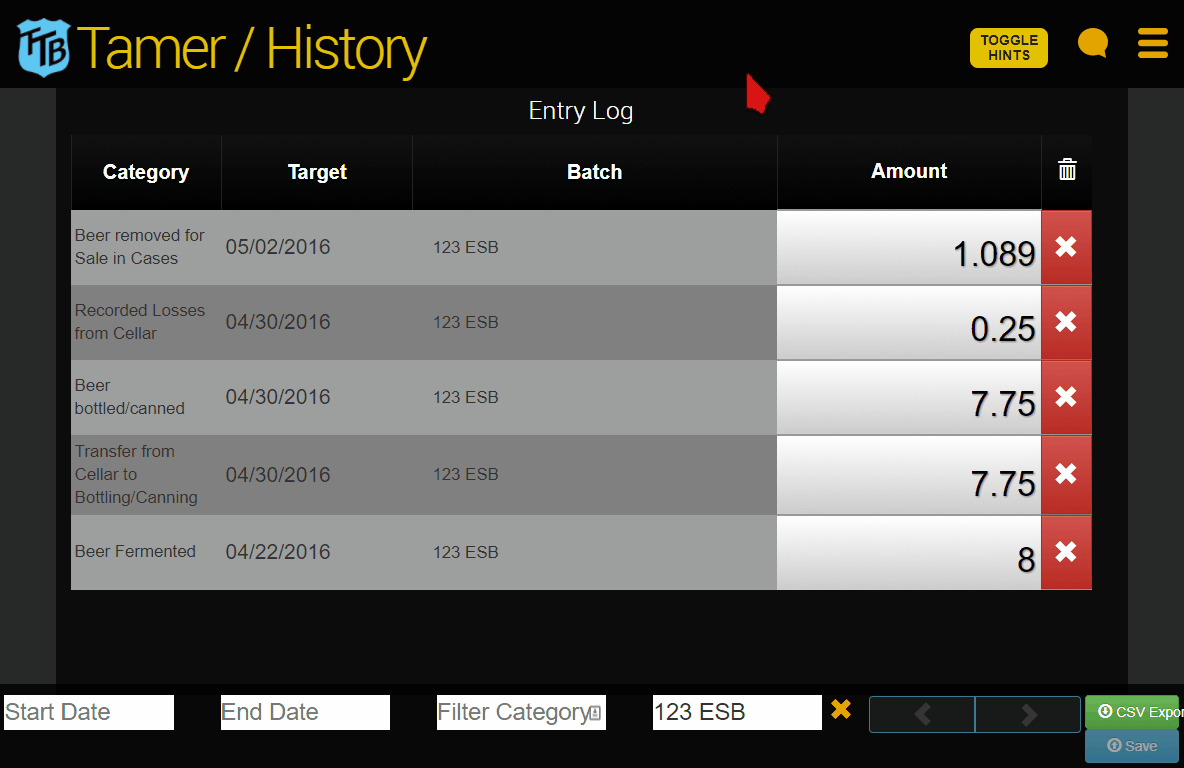
There are a few ways to filter your entries so that you can find what you’re looking for faster. You can filter by Date or Date range, by Batch Number, and by Category.
To filter by Batch Number or Category, start typing in the text box and all of the available batch numbers or categories that match what you’re typing will become available to select. Then, select a batch number or category and your entries will be filtered.
Deleting Entries
From the Entry Log, you can delete entire entries or individual items within an entry if they are incorrect.
USE WITH CAUTION! This will completely erase your data from the database. There will be no way for us to retrieve it if you delete something by accident.
Note: If you delete an entry that makes up part of a Blended Batch, all aspects of the Blend will also be deleted.
For more information on deleting entries, see “Making Corrections to Entries“.
Exporting to CSV
You can export your entries into a CSV (comma separated value) file that can then be imported into any standard spreadsheet program. If a filter is applied on the page only the filtered entries will be exported. If you are not using a filter your entire history of entries will be exported as a CSV file.
Go to Winery & Distillery section
WINERIES & DISTILLERIES
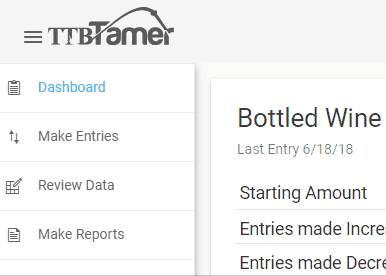
To get to the Entry Log click “Review Data” and then “Entry Log”.
Note that the navigation bars will automatically collapse. To see them again, click on the “expand/collapse” icon to the left of the TTB Tamer logo.
The Entry Log will list out every entry made that is stored in the database for your account.
A video tutorial of the entry log can be found here.
Sorting and Filtering
Every column along the top of the entry log can be filtered or sorted.
To sort in ascending or descending order, simply click on the column title. Click three times to clear the sort filter and get back to it’s original format.
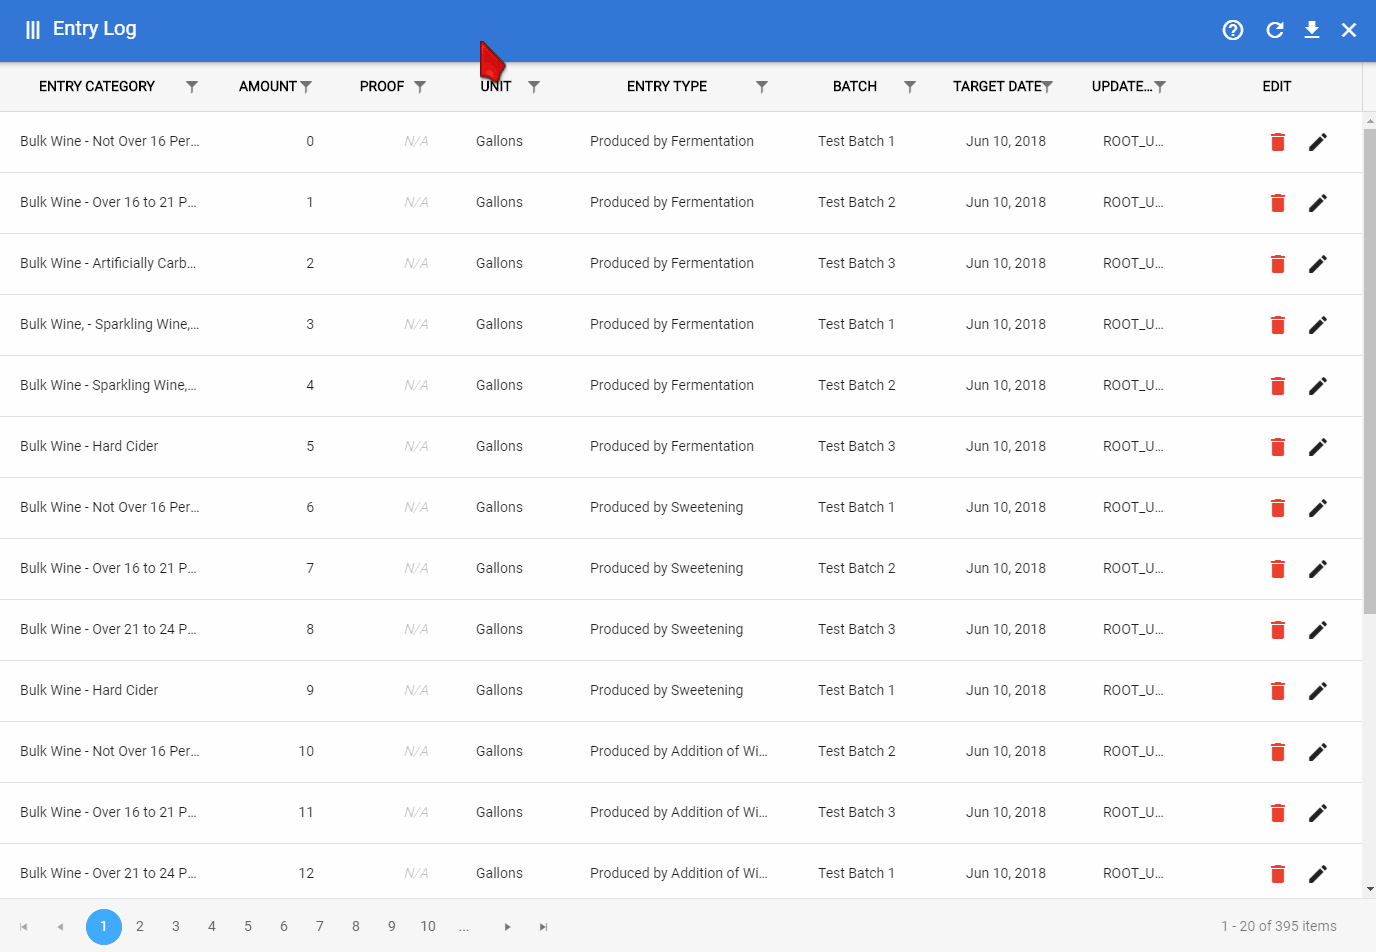
To apply a filter, click on the filter icon next to any of the column titles. A drop down will appear that will allow you to apply a filter. You can apply as many filters as you would like at the same time.
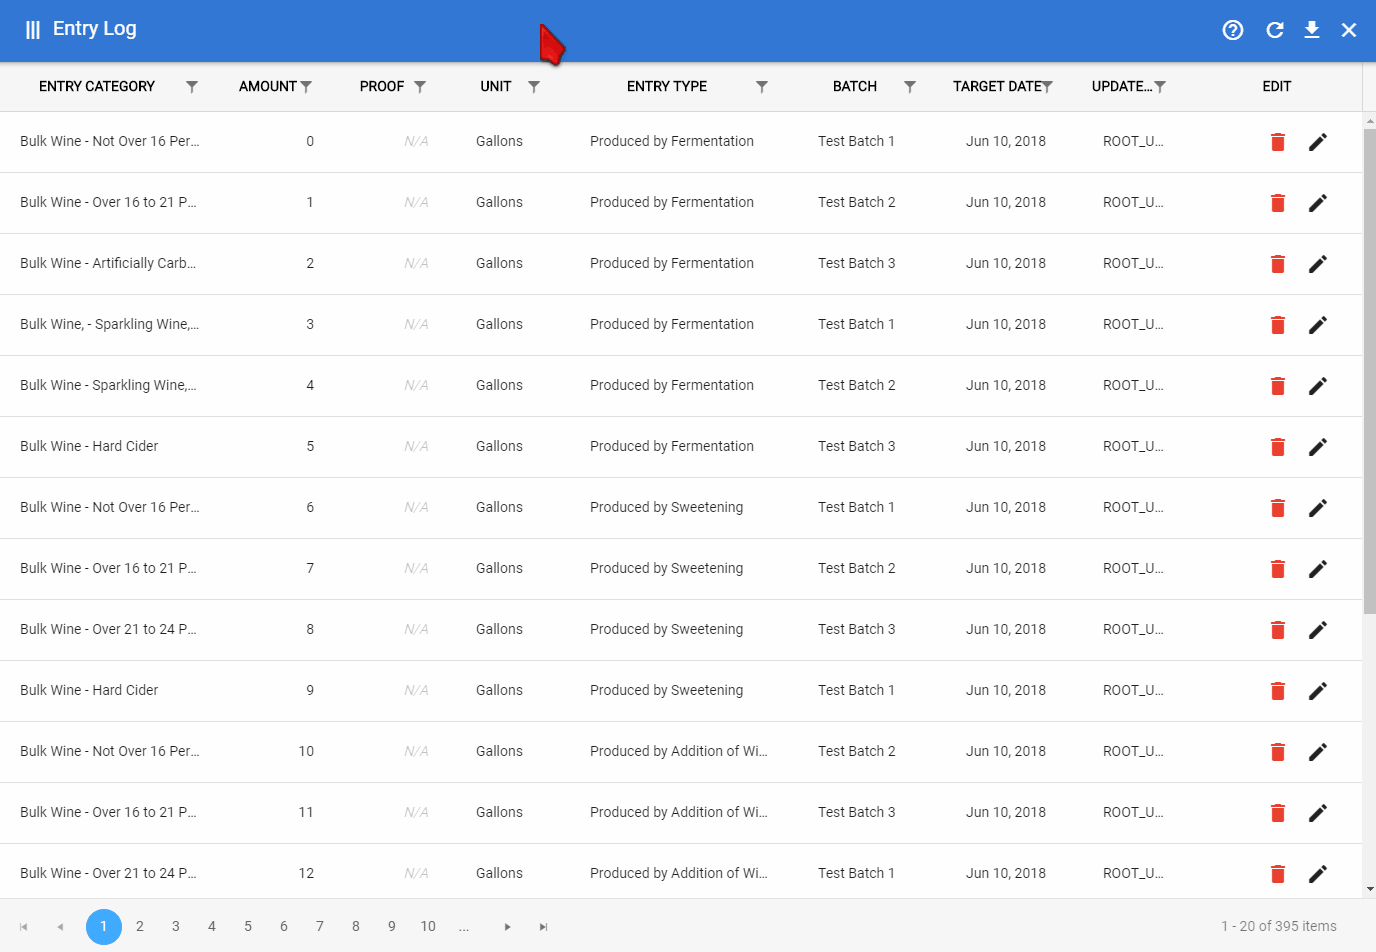
To clear a filter click on the filter icon and then select ‘Clear’ from the drop down menu.
Exporting to Excel
You can export your entries to Excel by clicking on the download icon in the upper right and selecting Excel.
If a filter is currently applied only the entries that have been filtered will be exported. If no filters are applied, all of your entries will be exported.
Editing Entries
You can edit your entries directly in the entry log. Simply double-click on the entry that needs to be edited or click on the pencil icon at the end of the row. Everything, except for the “Updated By” column, is available to be edited. To save the edits click on the blue Save icon at the end of the row.
Note: it’s extremely easy to make edits to entries and bypass the entry validations that are built-in to the Make Entries page. Make edits to your entries sparingly. When in doubt, delete the entry and use a Process on the Make Entries page (with it’s built-in validations) to re-make the entry.
Deleting an Entry
To delete an entry click on the red trashcan icon. Note that deleting an entry will permanently remove it from your database.